1. 회원가입 양식
html 코드
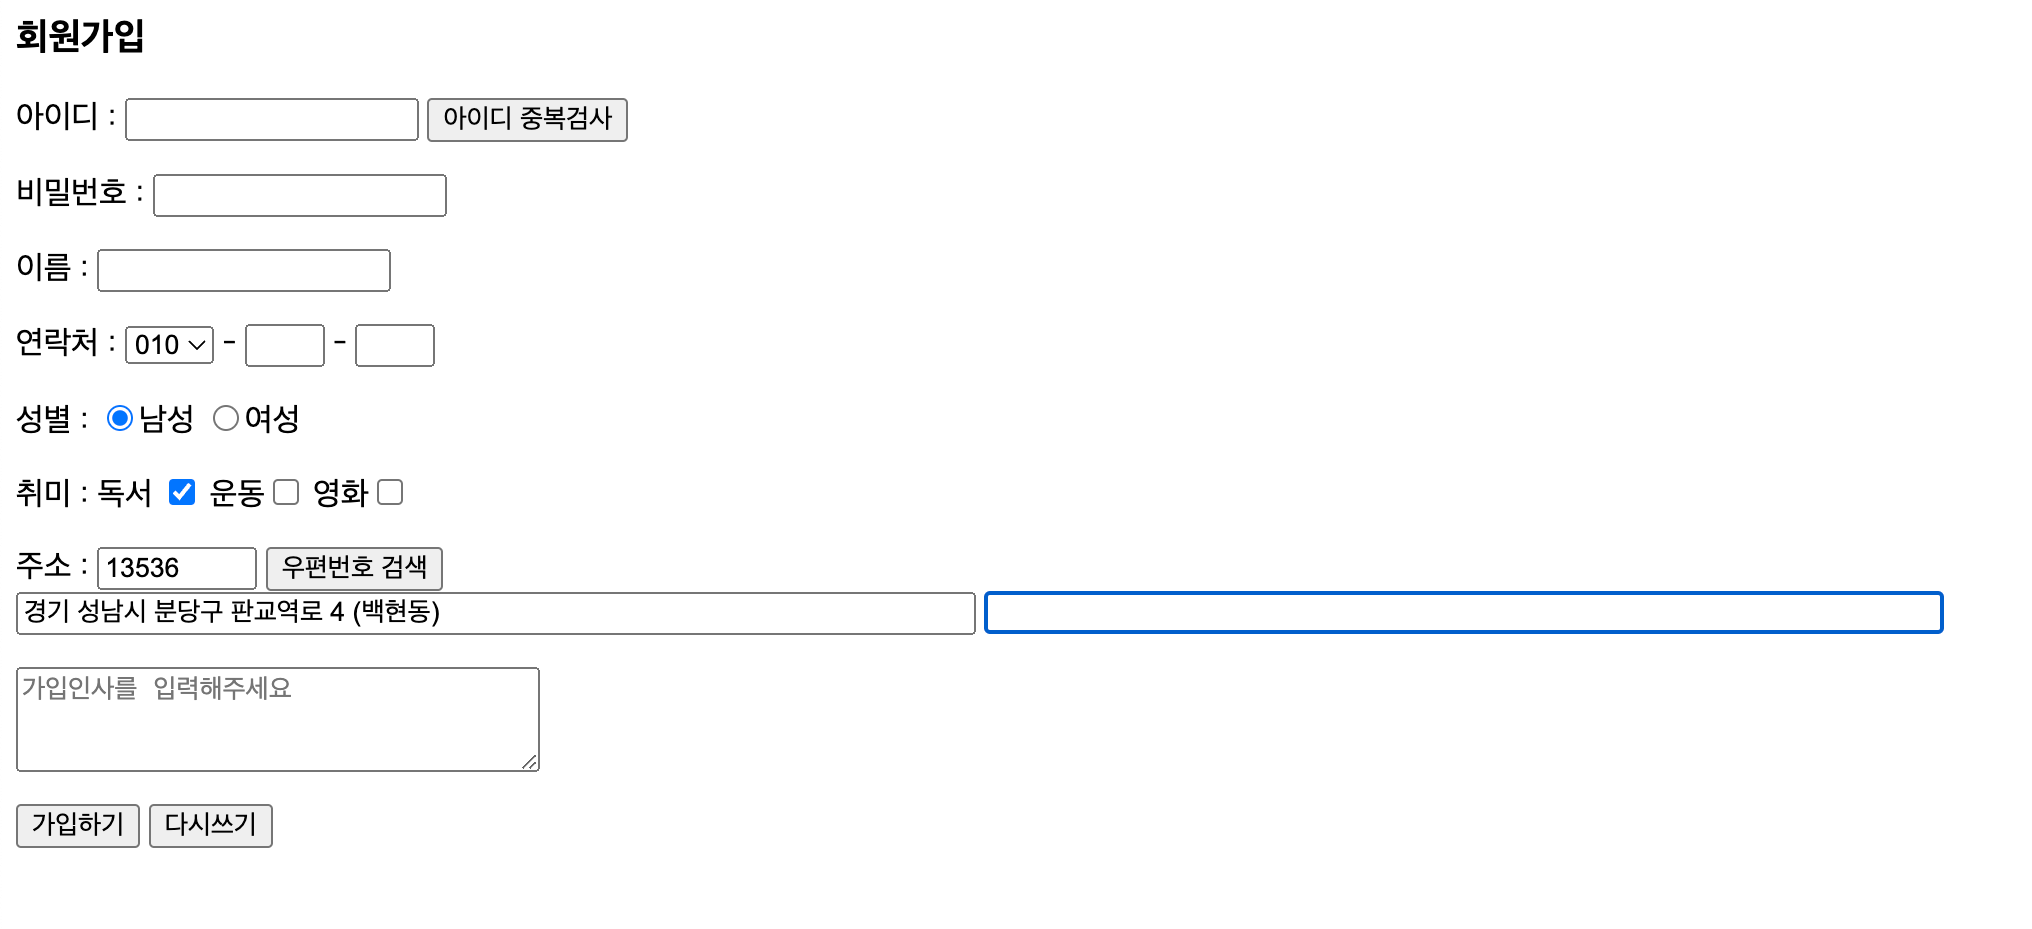
    <h3>회원가입</h3>
    <form action="form01_process.jsp" name="member" method="post">
        <p> 아이디 : <input type="text" name="id"> <input type="button" value="아이디 중복검사"></p>
        <p> 비밀번호 : <input type="password" name="passwd"></p>
        <p> 이름 : <input type="text" name="name"></p>
        <p> 연락처 : <select name="phone1">
            <option value="010">010</option>
            <option value="011">011</option>
            <option value="016">016</option>
            <option value="017">017</option>
            <option value="019">019</option>
        </select> - <input type="text" maxlength="4" size="4" name="phone2"> -
            <input type="text" maxlength="4" size="4" name="phone3"></p>
        <p> 성별 : <input type="radio" name="sex" value="남성" checked>남성
            <input type="radio" name="sex" value="여성">여성</p>
        <p> 취미 : 독서 <input type="checkbox" name="hobby" value="독서" checked>
            운동<input type="checkbox" name="hobby" value="운동">
            영화<input type="checkbox" name="hobby" value="영화"></p>

        <p> 주소 : <input name="zipcode" id="zipcode" size="10" maxlength="7" readonly>
            <input type="button" value="우편번호 검색" id="address"><br />
            <input name="address01" id="address01" size="70" maxlength="70" readonly>
            <input name="address02" id="address02" size="70" maxlength="70"> </p>

        <p> <textarea name="comment" cols="30" rows="3" placeholder="가입인사를 입력해주세요"></textarea></p>
        <p> <input type="submit" value="가입하기">
            <input type="reset" value="다시쓰기"></p>
    </form>
자바스크립트 코드
       /*
        카카오 우편번호 검색 가이드 페이지 :  https://postcode.map.daum.net/guide
        getElementById() : html 에서 매개변수로 받은 id 값이 있는 요소를 반환.
        */
        function execDaumPostcode() {
            new daum.Postcode({
                oncomplete: function(data) {
                    // 팝업에서 검색결과 항목을 클릭했을때 실행할 코드를 작성하는 부분.

                    // 각 주소의 노출 규칙에 따라 주소를 조합한다.
                    // 내려오는 변수가 값이 없는 경우엔 공백('')값을 가지므로, 이를 참고하여 분기 한다.
                    var fullAddr = ''; // 최종 주소 변수
                    var extraAddr = ''; // 조합형 주소 변수

                    // 사용자가 선택한 주소 타입에 따라 해당 주소 값을 가져온다.
                    if (data.userSelectedType === 'R') { // 사용자가 도로명 주소를 선택했을 경우
                        fullAddr = data.roadAddress;
                    }
                    else { // 사용자가 지번 주소를 선택했을 경우(J)
                        fullAddr = data.jibunAddress;
                    }

                    // 사용자가 선택한 주소가 도로명 타입일때 조합한다.
                    if(data.userSelectedType === 'R'){
                        //법정동명이 있을 경우 추가한다.
                        if(data.bname !== ''){
                            extraAddr += data.bname;
                        }
                        // 건물명이 있을 경우 추가한다.
                        if(data.buildingName !== ''){
                            extraAddr += (extraAddr !== '' ? ', ' + data.buildingName : data.buildingName);
                        }
                        // 조합형주소의 유무에 따라 양쪽에 괄호를 추가하여 최종 주소를 만든다.
                        fullAddr += (extraAddr !== '' ? ' ('+ extraAddr +')' : '');
                    }

                    // 우편번호와 주소 정보를 해당 필드에 넣는다.
                    document.querySelector('input[name=zipcode]').value = data.zonecode; //5자리 새우편번호 사용
                    document.querySelector('input[name=address01]').value = fullAddr;

                    // 커서를 상세주소 필드로 이동한다.
                    document.querySelector('input[name=address02]').focus();
                }
            }).open();
        }

        document.addEventListener("DOMContentLoaded", function () {
            const addrBtn = document.querySelector('input[id=address]');
            addrBtn.addEventListener('click', execDaumPostcode);
        });
JSP 코드
    <%
        request.setCharacterEncoding("utf-8");
        String userid = request.getParameter("id");
        String password = request.getParameter("passwd");
        String name = request.getParameter("name");
        String phone = request.getParameter("phone1");
        String sex = request.getParameter("sex");
        String[] hobby = request.getParameterValues("hobby");
        String comment = request.getParameter("comment");
    %>
    <p> 아이디 : <%=userid%>
    <p> 비밀번호 : <%=password%>
    <p> 이름 : <%=name%>
    <p> 연락처 : <%=phone%>
    <p> 성별 : <%=sex%>
    <p> 취미 : <%
        if (hobby != null) {
            for(String s: hobby) {
                out.println(" " + s);
            }
        }
        %>
    <p> 가입인사 : <%=comment%>
2. 유효성 검사
회원가입시 아이디와 비밀번호를 입력하지 않을 시 + 비밀번호에 아이디가 포함된 경우 경고창 띄우기
html 코드
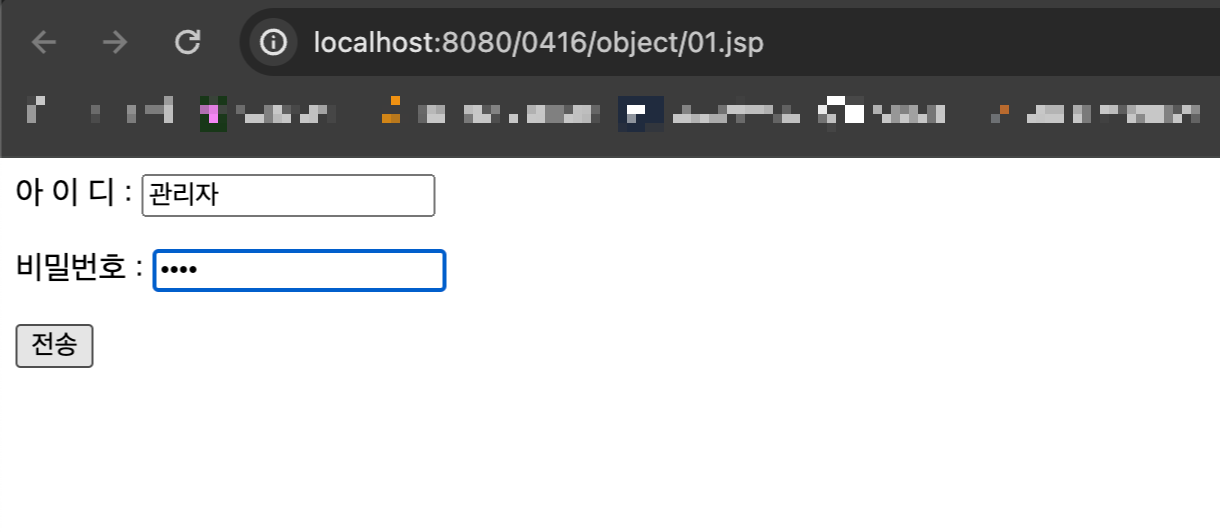
<body>
<h3>회원가입</h3>
<form action="validation_process.jsp" name="member" method="post">
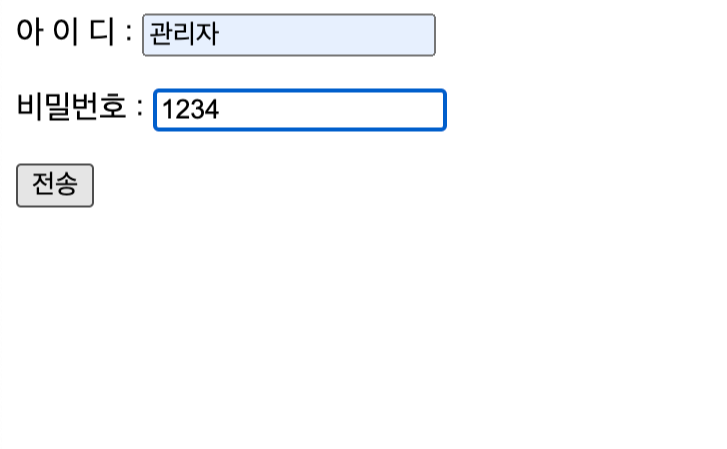
<p> 아이디 : <input type="text" name="id"> <input type="button" value="아이디 중복검사"></p>
<p> 비밀번호 : <input type="password" name="passwd"></p>
<p> <input type="submit" value="가입하기"> </p>
</form>
</body>
javascript 코드
<script>
    document.addEventListener("DOMContentLoaded", function() {
       const id = document.querySelector("input[name=id]");
       const pwd = document.querySelector("input[name=passwd]");
       const submitBtn = document.querySelector('input[value="가입하기"]');

       submitBtn.addEventListener('click', function(event) {
           if (id.value.trim() === "") {
               alert('아이디를 입력해 주세요.');
               event.preventDefault(); // Prevent form submission
               id.focus();
           } else if (pwd.value.trim() === "") {
               alert('비밀번호를 입력해 주세요.');
               event.preventDefault(); // Prevent form submission
               pwd.focus();
           } else if (pwd.value.indexOf(id.value) !== -1) {
               alert('비밀번호는 아이디를 포함할 수 없습니다.');
               event.preventDefault(); // Prevent form submission
               pwd.focus();
           }
       });

    });
</script>
JSP 코드
<body>
<%
request.setCharacterEncoding("utf-8");
String userid = request.getParameter("id");
String password = request.getParameter("passwd");
%>
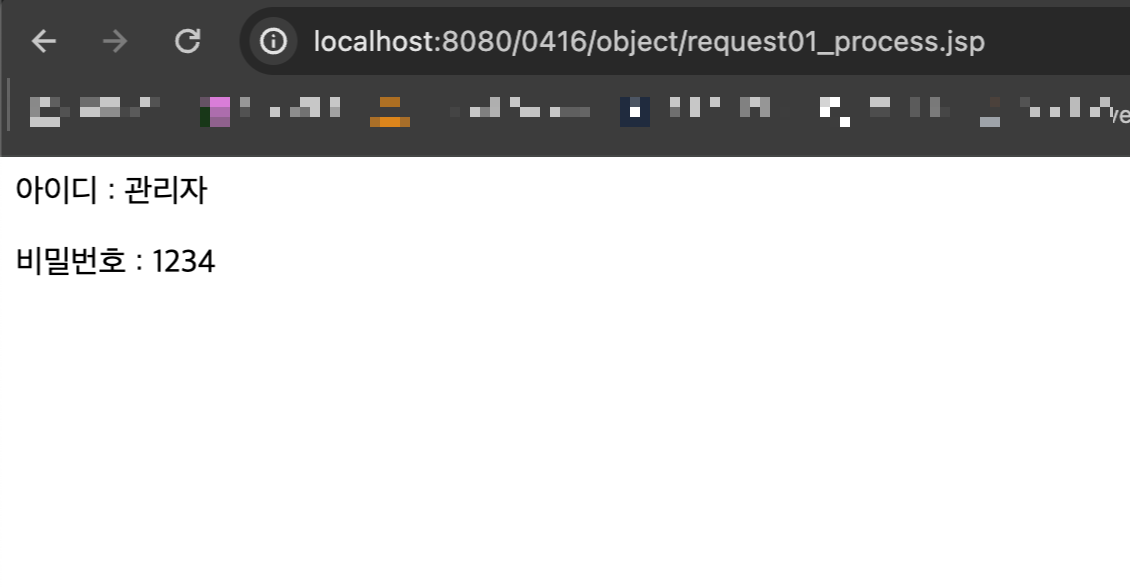
<p> 아이디 : <%=userid%>
<p> 비밀번호 : <%=password%>
</body>
[ 내용 참고 : IT 학원 강의 ]
'JSP' 카테고리의 다른 글
| [JSP] 쿠키 Cookie 와 세션 Session (0) | 2024.04.20 |
|---|---|
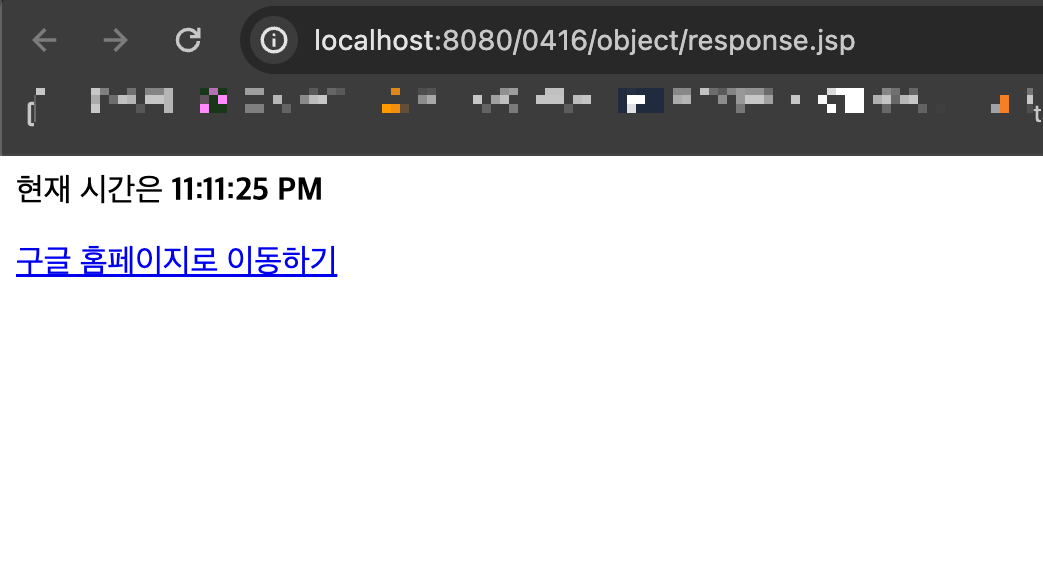
| [JSP] 내장객체 - response, out (0) | 2024.04.17 |
| [JSP] 내장 객체 - request (0) | 2024.04.17 |
| [JSP] 디렉티브 태그 - include, taglib (0) | 2024.04.16 |
| [JSP] 디렉티브 태그 - page tag (0) | 2024.04.16 |